I’ve been meaning to write a blog about iDRAC 9 virtual media for a while, but I haven’t built an OpenShift cluster from scratch using the Assisted Installer since I moved from bare metal to the Advanced Developer Suite. To start the new year, I decided to build something from the ground up. In doing so, I was reminded why iDRAC Virtual Media is never as simple as the marketing suggests.
The Basic OpenShift Setup
This guide applies to any ISO. However, I live in OpenShift land. If you’re using the Assisted Installer, you’ll generate a Discovery ISO at the Host Discovery step.
Pro Tip: I prefer the Full ISO image. It keeps the heavy lifting on my local network so the nodes don’t have to pull 1GB+ over the WAN individually. I host mine on a local NGiNX server at /usr/share/nginx/html/openshift and wget it there. Don’t forget to bake in your SSH key during generation, or you’ll be locked out of your own cluster later.
Step 1: Configuring iDRAC 9 Virtual Media (The Setup)
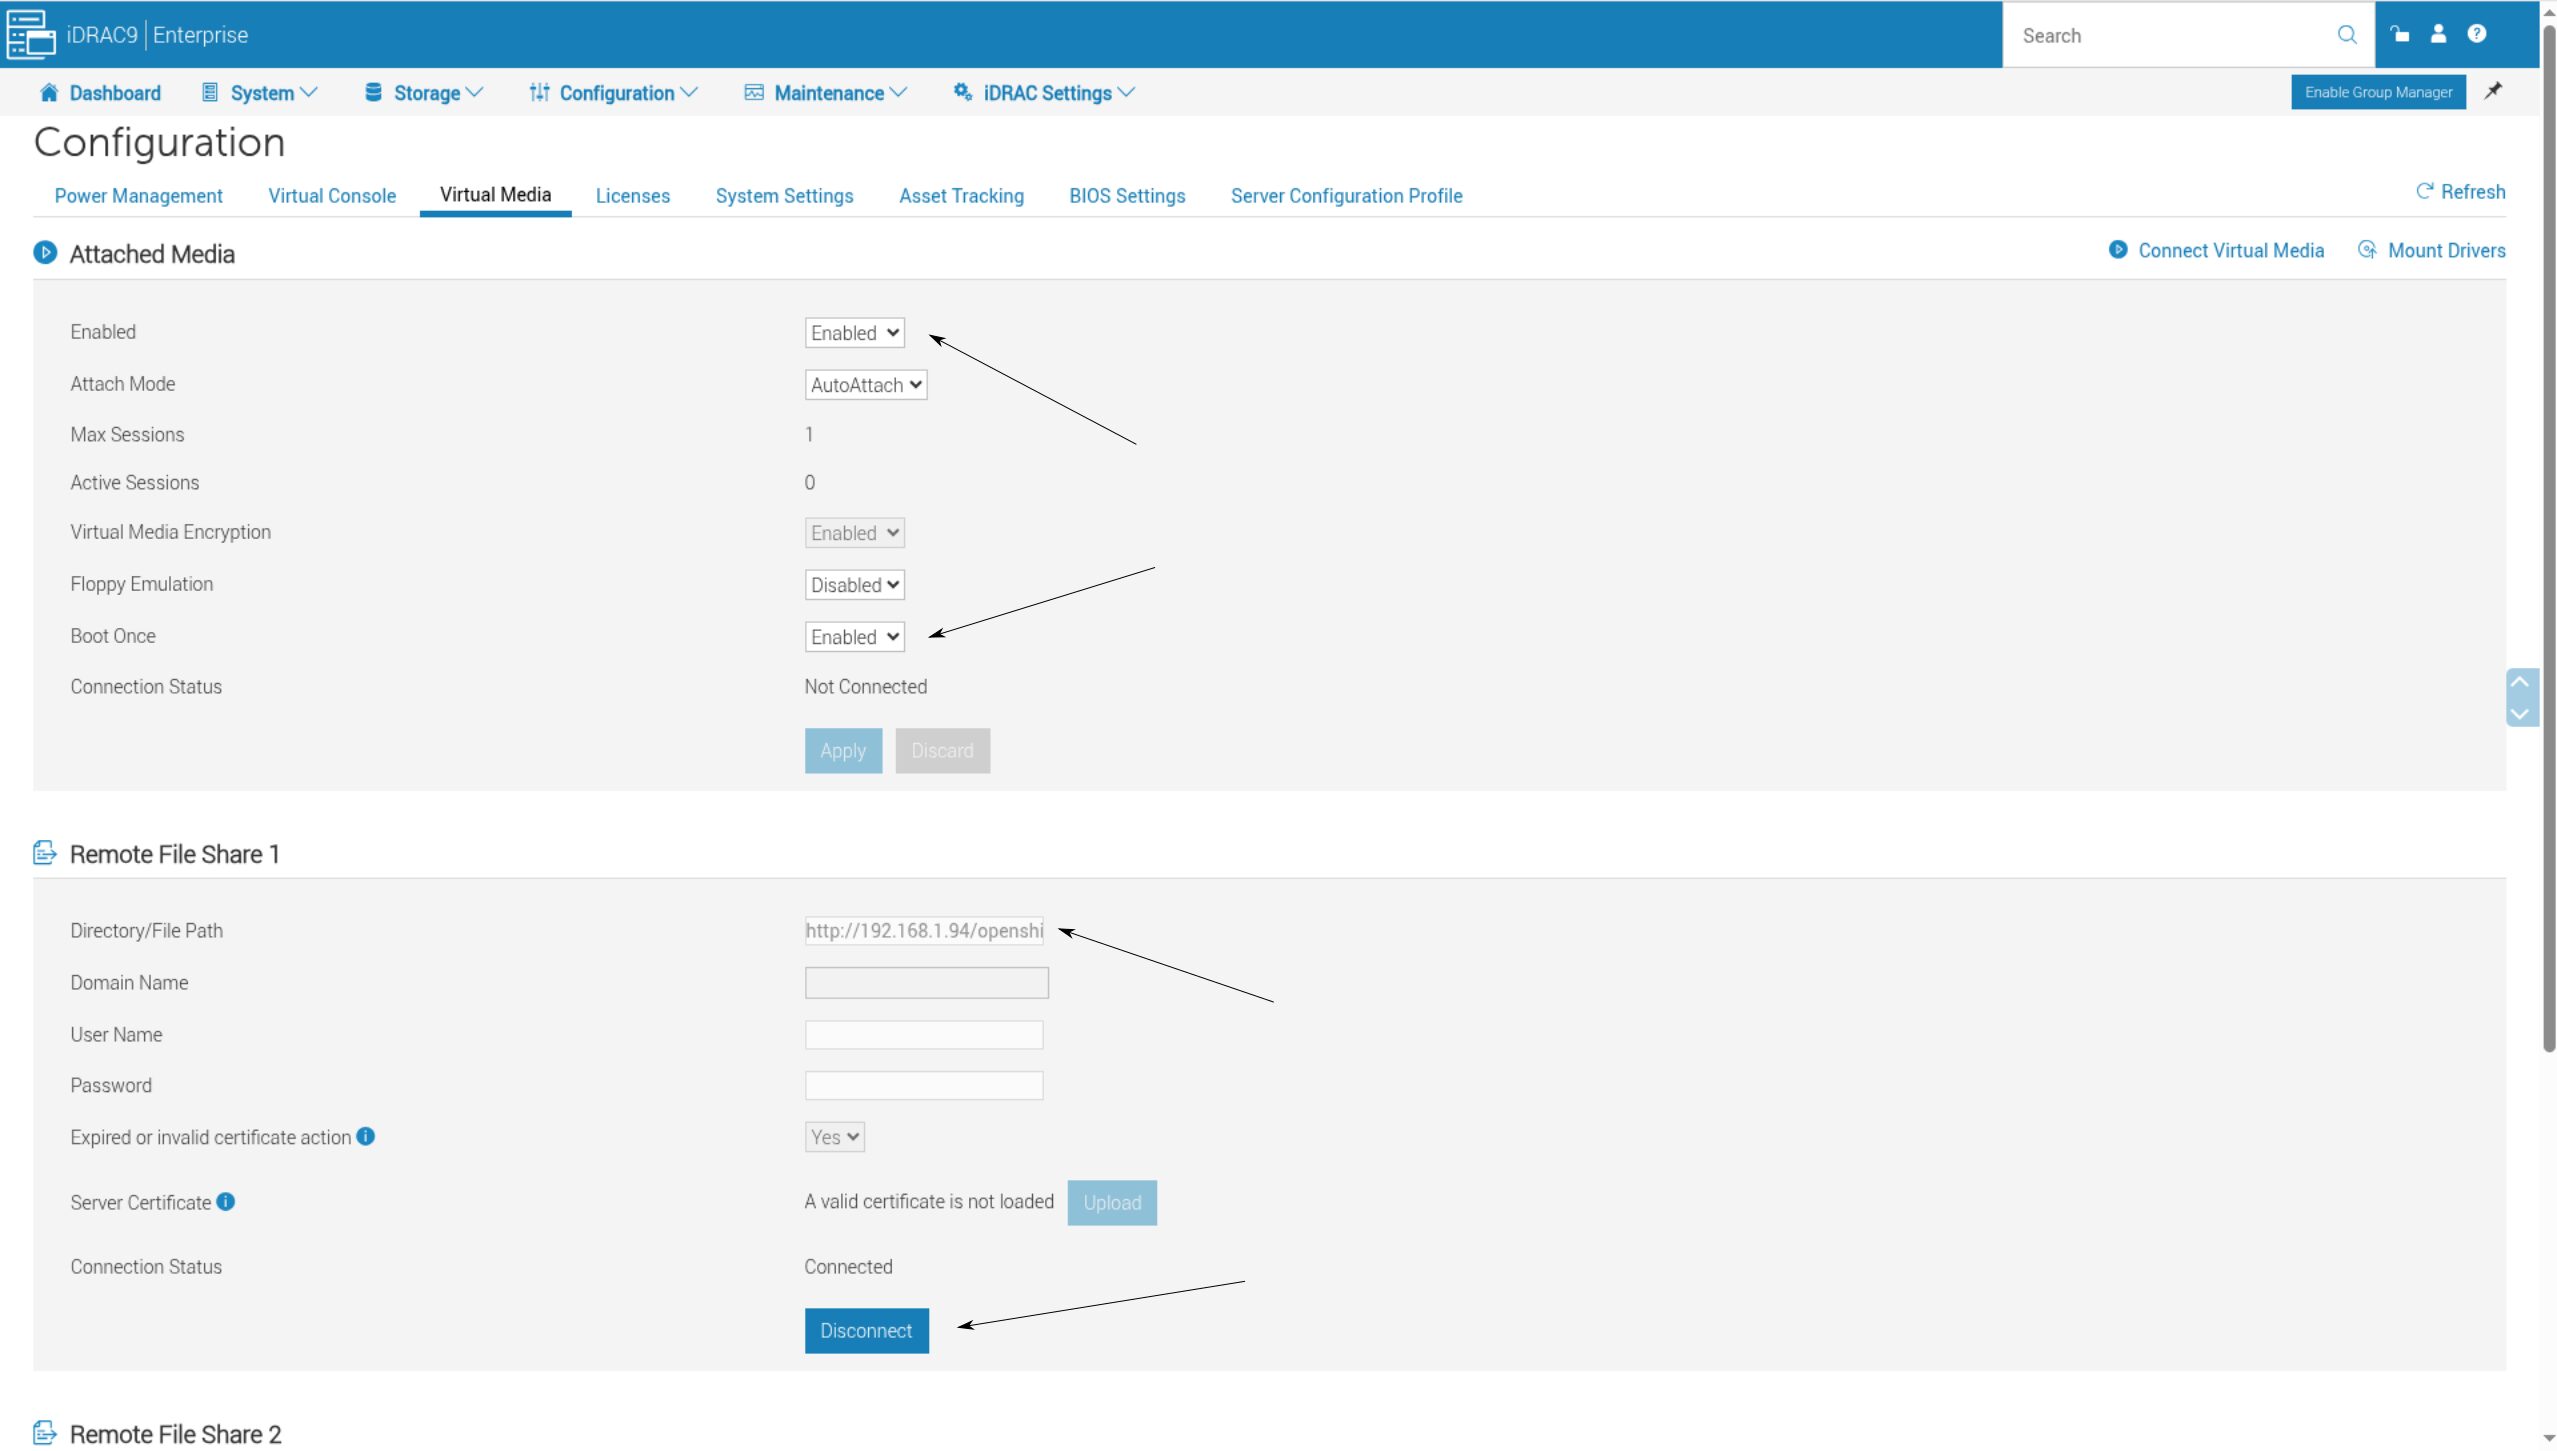
Once your ISO is hosted, head to your iDRAC 9 interface:
- Go to Configuration -> Virtual Media.
- Ensure Virtual Media is Enabled.
- Scroll to Remote File Share 1.
- Enter your URL (e.g.,
http://192.168.1.94/openshift/discovery.iso).- Note: I don’t use SSL in my garage lab. If your server is exposed to the wild, use HTTPS or prepare for the consequences.
- Click Connect.
Step 2: Configuring “Boot Once” (The Theory)
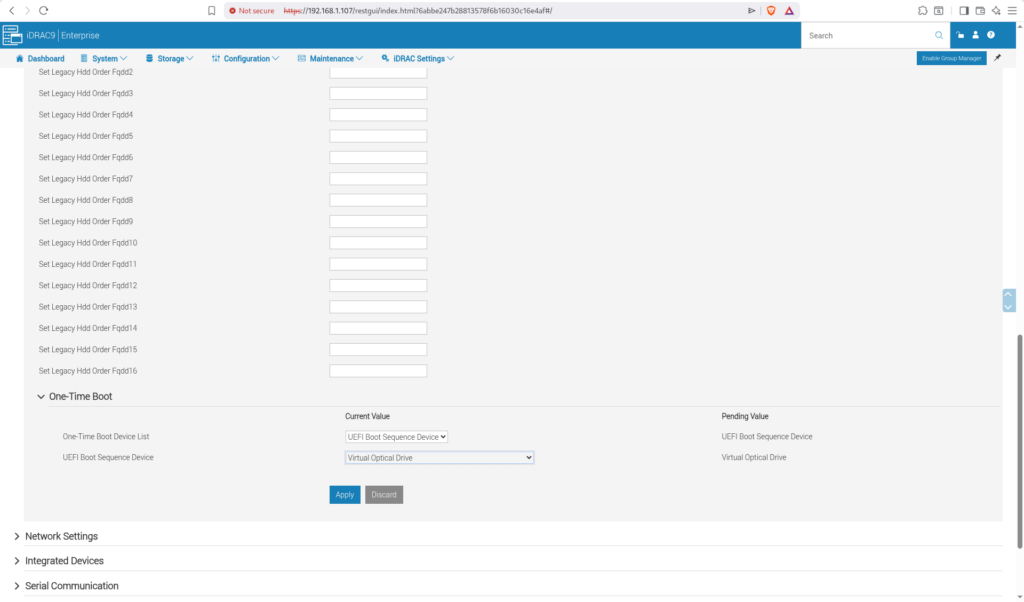
Now we try the “clean” way. Navigate to Configuration -> BIOS Settings and expand the Boot Settings accordion.
- Scroll to the bottom and expand One-Time Boot.
- Select UEFI Boot Sequence Device.
- In the dropdown, select Virtual Optical Drive.
- Click Apply.
The Flake Factor: Depending on your firmware version, “Virtual Optical Drive” might not even appear in the list, or the setting might fail to persist after you click Apply. If that happens, take a deep breath; we’re going to have to do this the hard way.

boot settings
Step 3: The Moment of Truth (The Virtual Console)
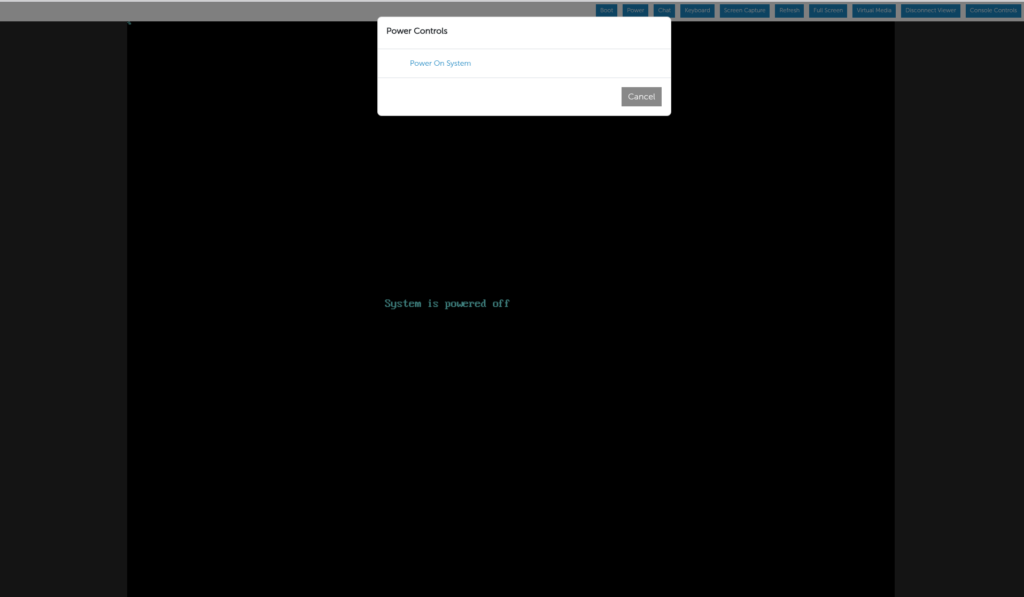
Open the Virtual Console, go to the Boot menu, and select Virtual CD/DVD/ISO. Then, hit Power On.
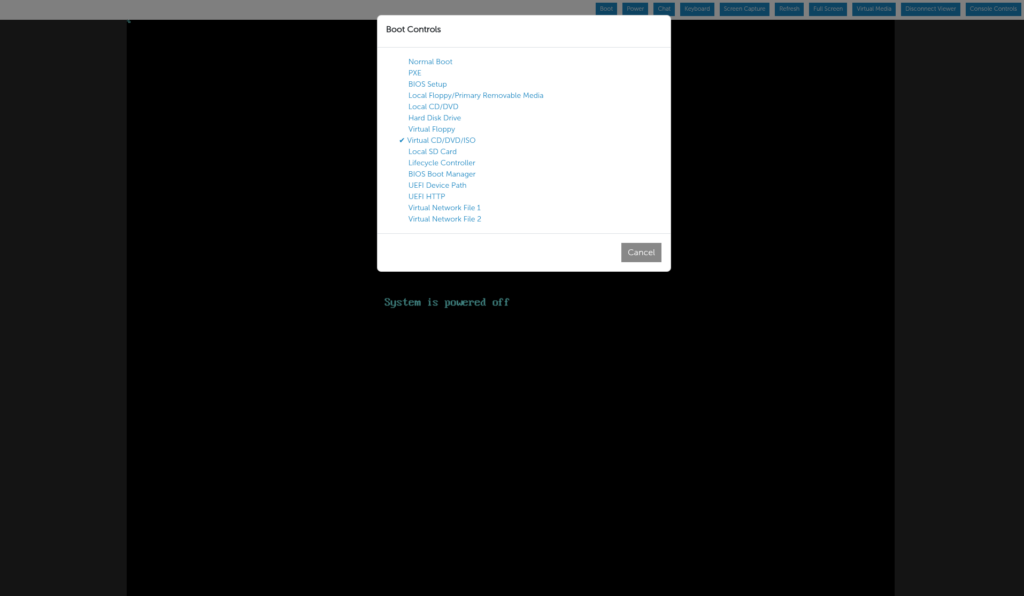
As the Dell EMC splash screen crawls across the screen, you’ll eventually see:
Virtual CD Boot Requested by iDRAC
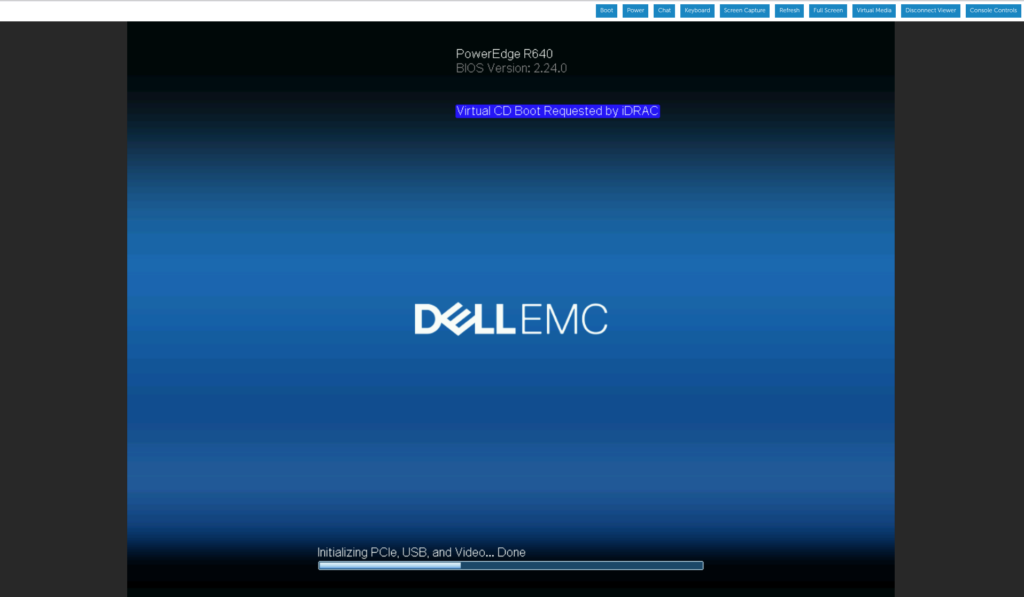
In a perfect world, the server would now boot your ISO. In reality, the server often looks at that message, ignores it entirely, and boots straight into the local OS.
Why it fails:
- You enabled One-time Boot, but the BIOS ignored it.
- The “Virtual Optical Drive” didn’t present correctly to the boot manager.
- The server decided the local disk was more interesting.
Step 4: The Nuclear Option (Manually Setting Boot Order)
If you’ve concluded that virtual media is broken or that the universe is indifferent to your suffering, don’t worry. You just have to force the BIOS to listen.
- Reboot and mash F2 (or
Fn + F2) to enter System Setup. You have a roughly 10-second window before it fails again.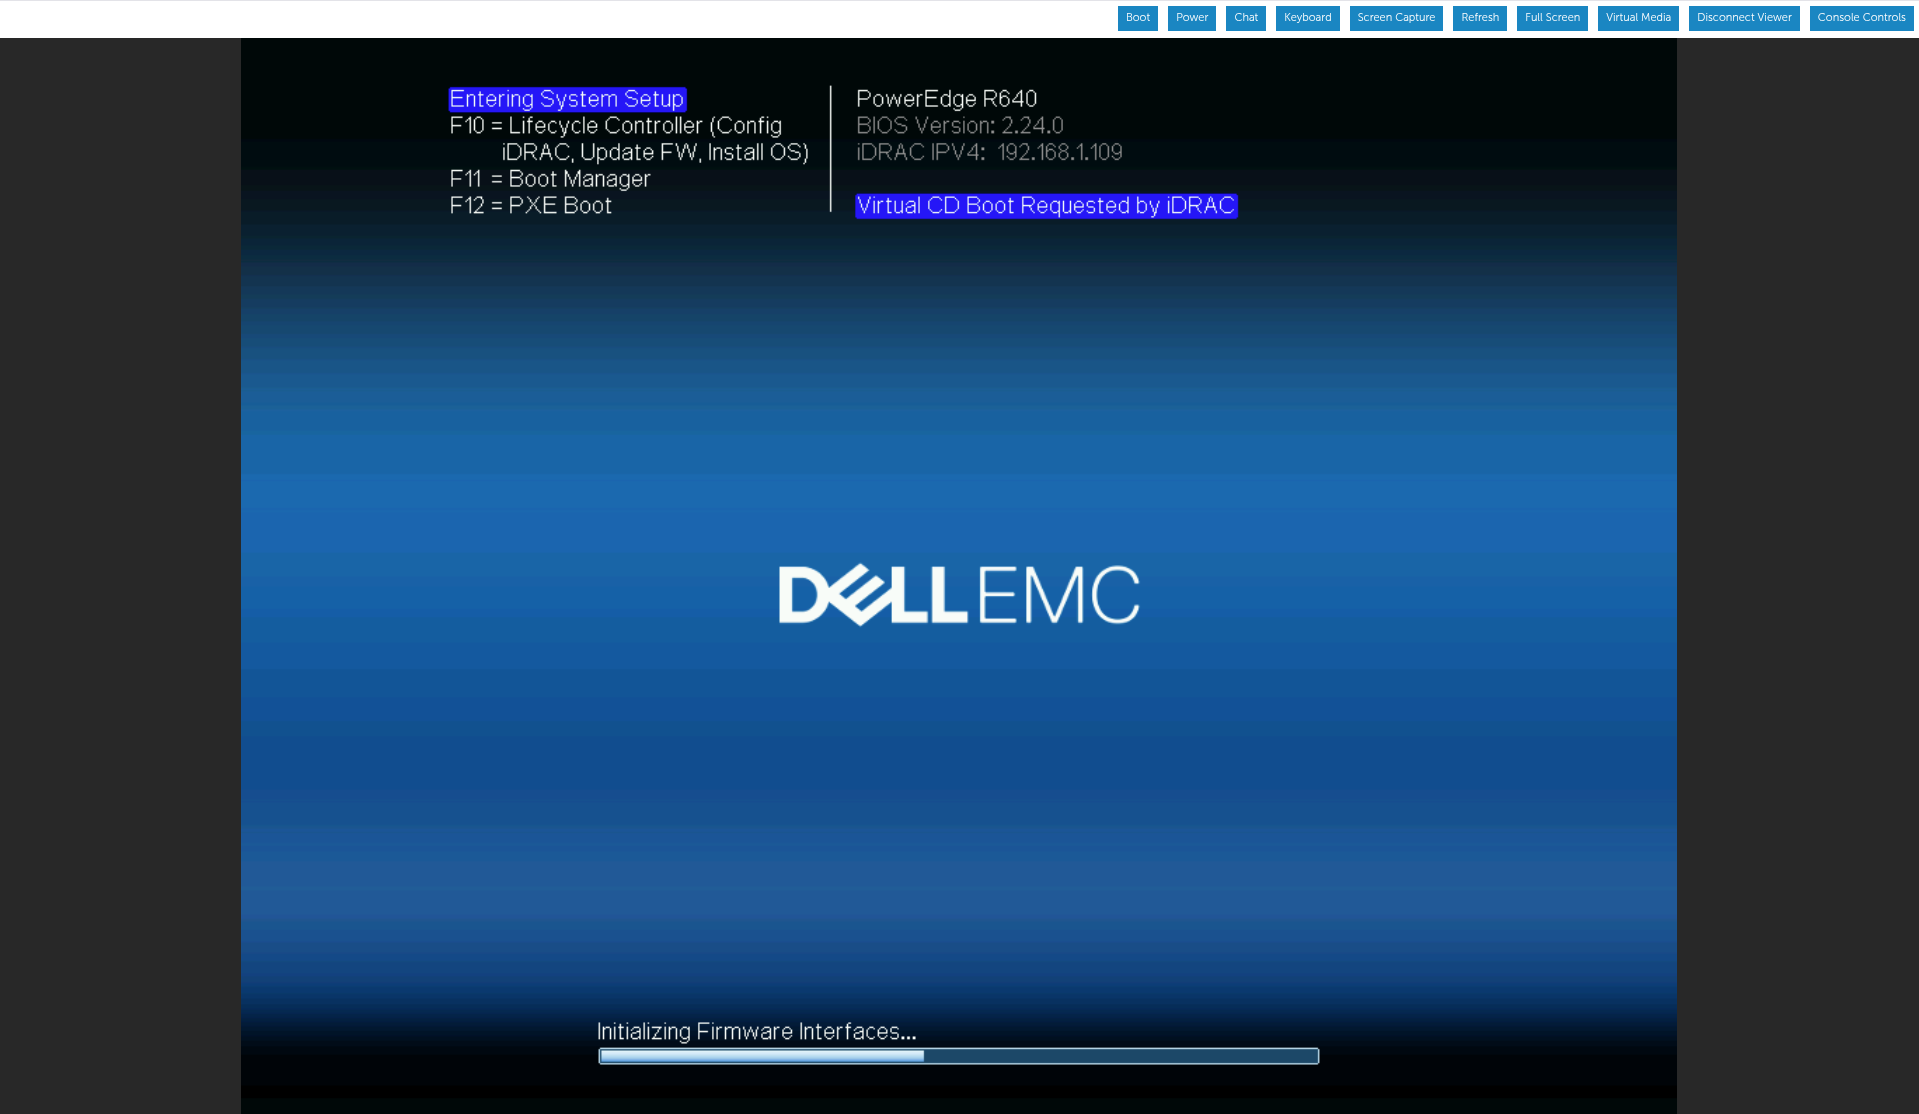
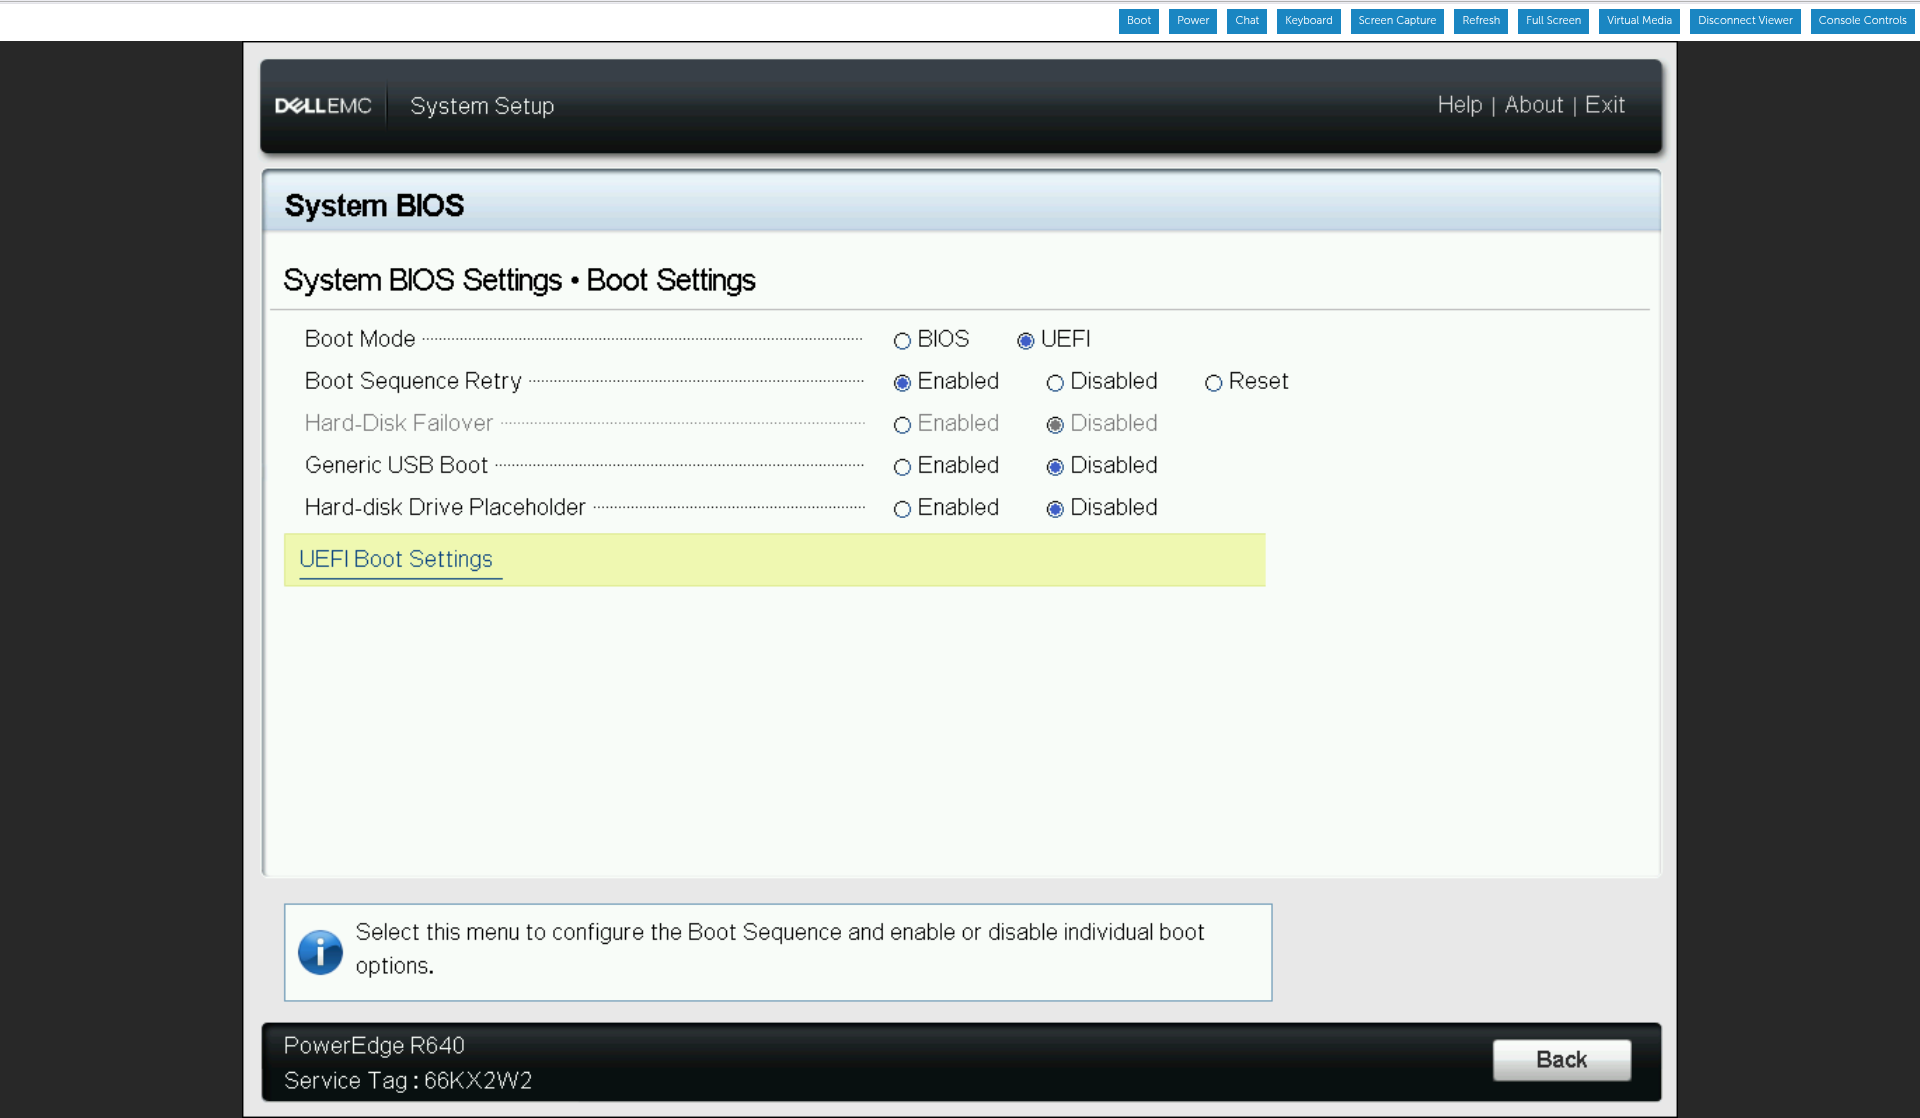
- Select System BIOS -> Boot Settings.
- Select UEFI Boot Settings -> UEFI Boot Sequence.
- Find Virtual Optical Drive. It’s usually at the bottom because Dell likes to bury the lead.
- Select it and press the + key until it is #1 in the list.
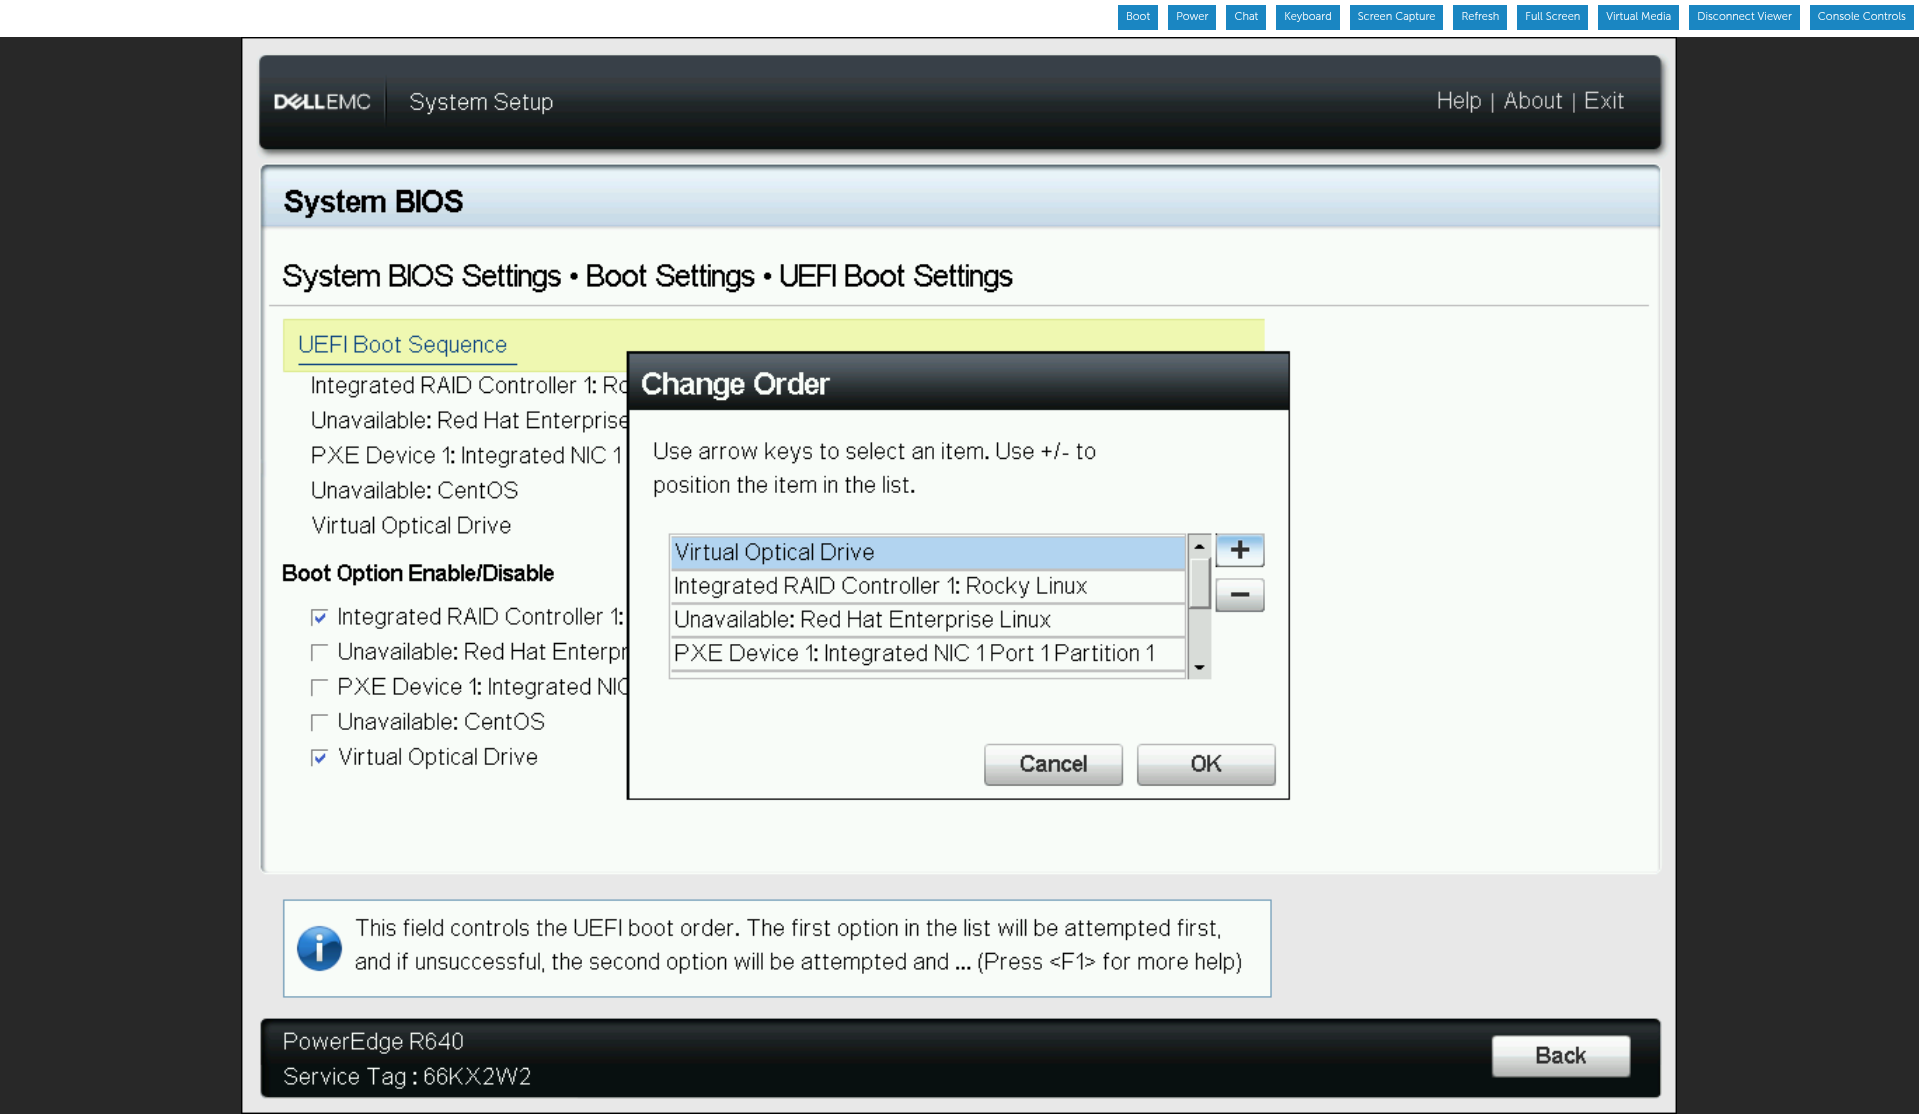
- Click OK, then Back, and Finish.
- Confirm and Save the changes.
The server will reboot, and this time, it will boot the ISO.
Final Thoughts
When building a 6-node cluster like I do, you’ll find that different firmware versions behave differently. Some might respect the “Boot Once” setting; others will require the manual BIOS shuffle.
Despite these quirks, Virtual Media is still miles better than setting up a traditional PXE/iPXE environment for a quick build. You just need to know that when iDRAC says it’s going to boot your ISO, it’s often lying to your face.
Leave a Reply